Showing posts with label dresses. Show all posts

January 7, 2012

time flies

20111127_blog01-web
20111127_blog03
20111127_blog04
20111127_blog02
20111127_blog05
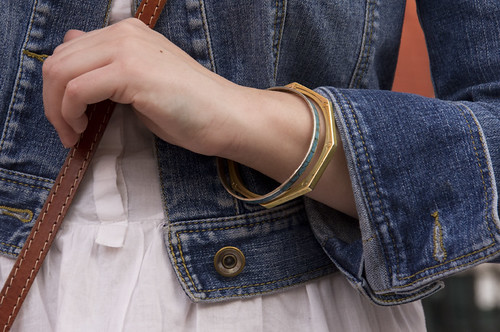
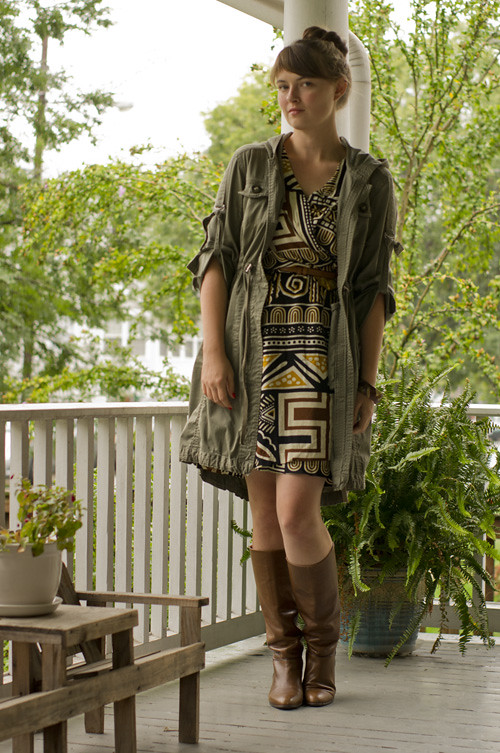
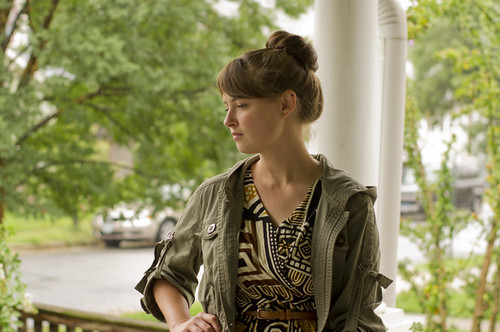
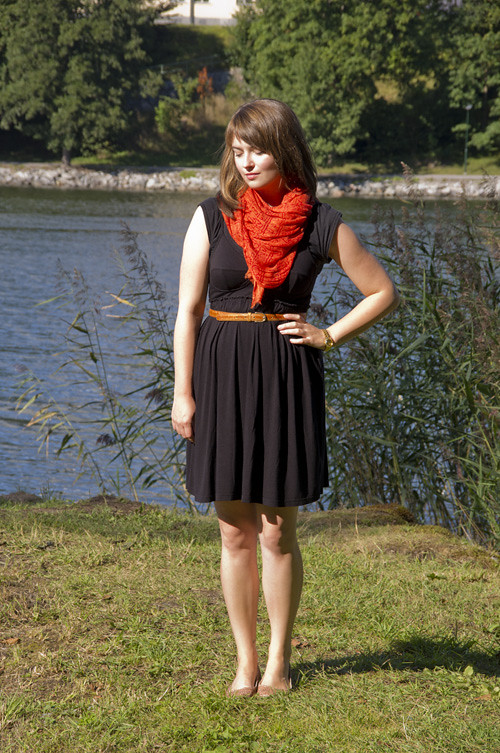
scarf - homemade / jean jacket - LOFT, thrifted / purse - Athens tourist shop / bracelets - vintage, gifts / dress - UO / tights - Target / boots - DV by Dolce Vita 

It's hard to believe these photos were only taken a month ago, it feels like in no time at all we've gone from perfect fall weather to real winter. I remember being so in love with this outfit that I refused to take off my chunky scarf, even though I was way too hot!

A lot's been going on here over the last few weeks - we're still working away on making our apartment feel like home (it's coming together.... slowly), made restorative visits to family over the holidays, and even hosted a little get-together on New Year's Eve. I've also changed jobs, and am now working on a competition for an office I've admired for years. It's really exciting and I absolutely love the work, but the 50 hour work weeks (which are now creeping up past 60 as our deadline approaches) have certainly put a damper on my plans to get back to blogging regularly. Still, I'm hopeful that once the competition is over in a week or so that I'll be able to settle in to a more reasonable schedule.

While I was off eating Christmas cookies and tamales (we always have Mexican food on Christmas Eve, family tradition) in Virginia, this little blog turned a year old. I know, *technically* if you go through my archives you'll find posts from as far back as April of 2009 (I really don't recommend you bother reading that far back), but it took quite a while for me to decide just what I wanted to do with this blog, and for me the other emily was really born in its current form with this post.

So much has happened in the last year, from the living fantasy of The Trip to reuniting with our big yellow dog, moving to New York and seeing some great friends get married (we built them a huppah!) and have adorable babies, to now feeling newly energized and focused in my professional life - and blogging through it all. Over the next year, I hope my blog keeps evolving (up next - a long-overdue redesign!) but that writing it remains every bit as fun and rewarding as it has been so far. There is simply no non-cheesy way to say it, so here goes: Thank you - for your comments, emails, and just plain reading. Over the last year, the other emily has enabled some amazing new friendships (both in real life and in blog life) and has introduced me to such an incredible community of smart and deeply funny women. I never expected my blog to grow the way that it has, and it means so much to me that you enjoy it. Thank you all so, so much.

September 26, 2011

thoughtless

2011_0921_blog01-web
2011_0921_blog03
2011_0921_blog04
2011_0921_blog05
2011_0921_blog06-web
2011_0921_blog07
2011_0921_blog02-web
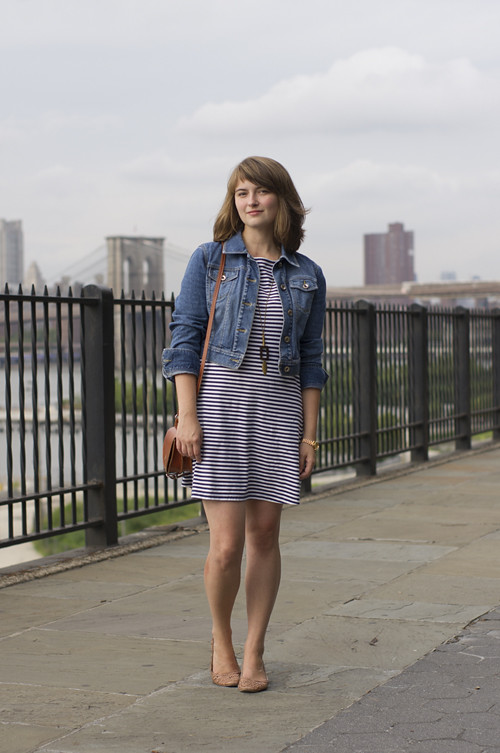
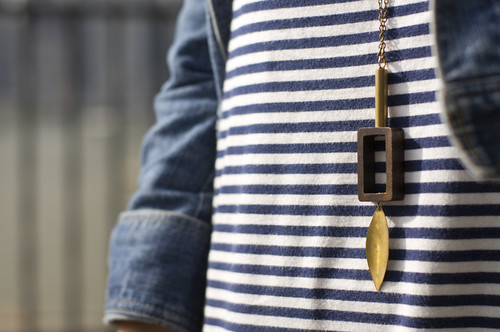
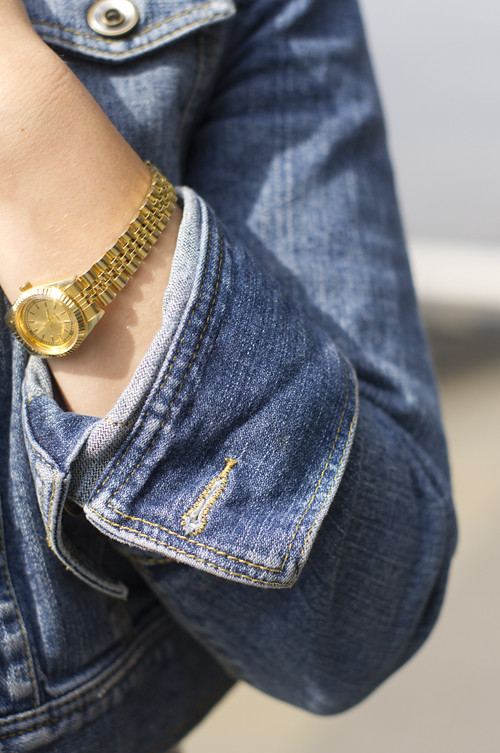
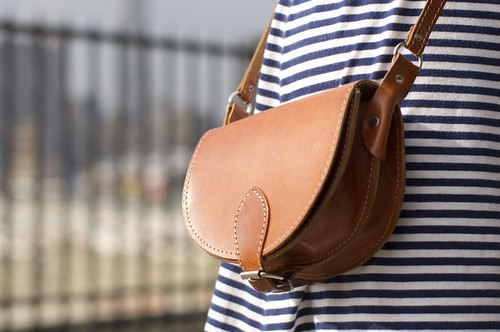
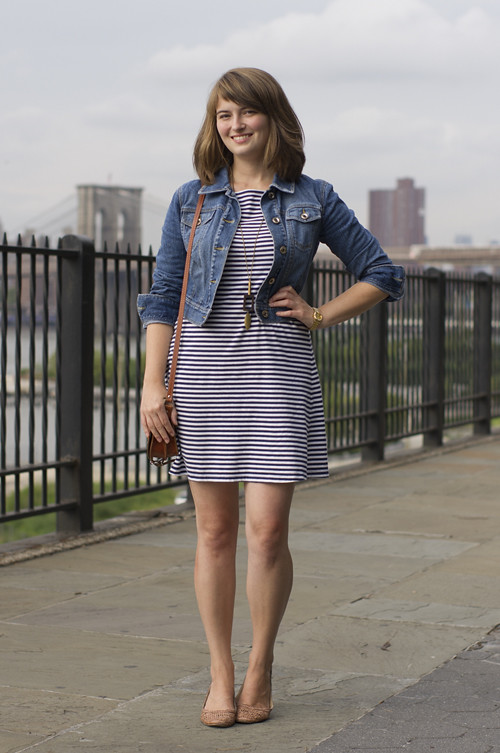
jean jacket - LOFT, thrifted / necklace - clyde's rebirth / striped dress - Old Navy / watch - Arkanoplatz flea market, Berlin / purse - Athens tourist shop / woven flats - UO

It will probably come as no particular surprise to regular readers of this blog that, if I had my druthers, I'd be happy to just wear this outfit every single day. In fact, up until these last few days,* I'd been creeping dangerously close to doing just that. Although we've only been here a week, I've somehow already grown bored with everything in my suitcase (didn't I used to have a lot of clothes in there?), but fortunately this dress and jacket combo still manages to make me feel great on days when I'm not up for thinking about what to wear.

*When New York decided to belatedly welcome us by approximating the interior climate of a steam room.

September 16, 2011

long shadows

2011_0913_blog01-web
2011_0913_blog05
2011_0913_blog06
2011_0913_blog04-web
2011_0913_blog03
2011_0913_blog07
2011_0913_blog02-web
dress - vintage, thrifted & hemmed / belt - vintage, thrifted / shoes - Target

I hope you'll forgive me the slightly melancholy tone of this post; in many ways, these photos feel to me like a lament for the summer that's nearly past. While I'm sure the season of heat and humidity is far from well and truly over here on the East Coast, the days of simple dresses, sandals, and long shadows seem to be rapidly disappearing. Today there's very nearly a chill in the air, and with it the anticipation of change. We move to New York this weekend and begin in earnest the search for jobs and apartments, setting out on an entirely new chapter in our lives. While I am excited about these changes (and particularly about seeing the end of suitcase-living on the horizon), I will miss the last nine privileged months of wholly unstructured time.

September 6, 2011

secondhander

2011_0906_blog01-web
2011_0906_blog03
2011_0906_blog06
2011_0906_blog05-web
2011_0906_blog04-web
2011_0906_blog02-web
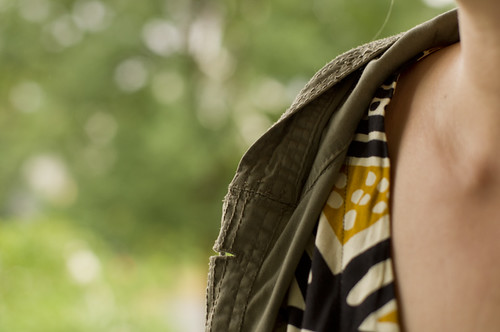
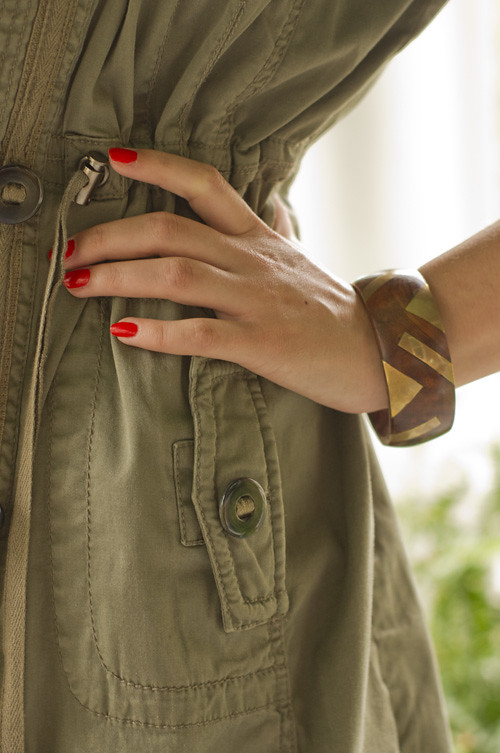
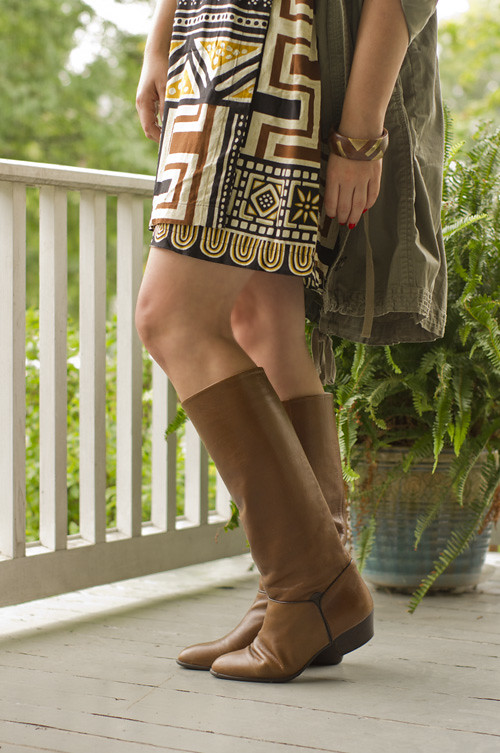
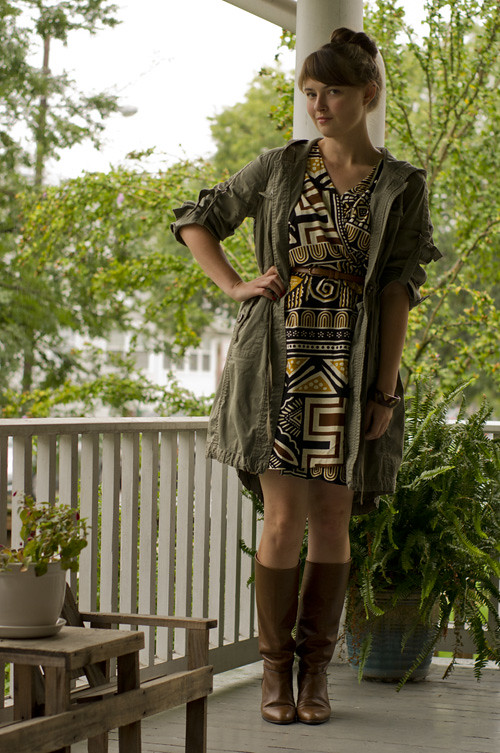
jacket - thrifted / dress - vintage via etsy / belt - vintage, thrifted / wood & brass bangle - vintage, thrifted / boots - Peter Kaiser, vintage via rummage sale

I didn't realize until putting together this post that everything I wore today is second-hand. It's silly, but wearing outfits that are entirely made up of items that are homemade or second-hand always gives me a little sense of satisfaction.

Today it was lovely and cool (and, ahem, seriously rainy - hence the porch photos), so I jumped at the chance to bring my favorite boots out of storage. I went to a rummage sale in Princeton* last summer with the way-too-specific-to-ever-work-out hope of finding a pair of vintage, cognac leather boots with a low heel and some kind of detail at the ankle, and immediately fished this pair of mint-condition boots made in West (!) Germany out of a rubber bin filled with shoes. They were my size, and they were.... $2. This is what dreams are made of, my friends.

*For any NJ readers, it was the annual White Elephant sale at the hospital - seriously, do not miss it!

August 28, 2011

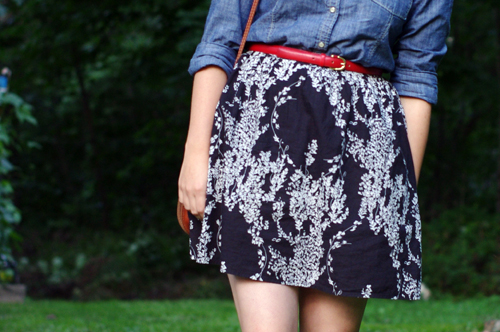
weekend project: from dress to skirt

skirtFinished

Whew! My apologies for my recent absence here on the blog, but it's been a crazy few days. On top of working around the clock to try and get my portfolio finished early this week, we took a trip out to Amherst yesterday to help Chris' brother move into a new apartment, and, like many others on the East Coast, spent the last twenty-four hours in full-on hurricane brouhaha. Fortunately we only wound up experiencing a five hour power outage and some really minor flooding in the basement today.

Anyway, here is the dress-to-skirt tutorial I alluded to earlier this week - what better time than a day of rotten weather to finally transform an underutilized dress into a skirt you'll love? While it has been sad to see our travels wind down these last few weeks, one of the things I've most looked forward to about coming back to the US is getting back to making things. I get a lot of questions here about how I've made or altered many of the clothes I wear, and now I'm excited to post a lot more sewing and DIY projects here on the blog. This tutorial is the first installment of a new feature I'm calling 'Weekend Projects' - every week or so, I'll post a tutorial for a new project with step-by-step photos, instructions, and answers to any questions you guys might have in the comments. The type of projects will vary week-to-week, including sewing projects (both constructing new garments and altering existing clothes), jewelry-making, some home improvement/decorating projects (once we have a home of our own, ha!) and probably even a bit of cooking here and there - but will generally be of a scale that can be accomplished in the course of a Sunday afternoon. AND, should any of you try out these tutorials, please send me a photo and/or a link to your blog, as I would love to feature your handiwork here the following week!

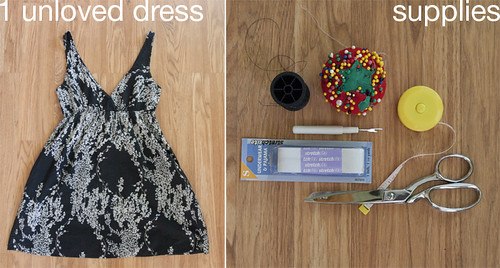
So, all that business out of the way, let's get to making a skirt, shall we? You'll need:
skirtTutorial_step00

An unloved dress with a fairly full skirt; thread that matches your fabric color; lots of pins (including one safety pin); a seam-ripper (or small scissors, good eyes, and a steady hand); a measuring tape or yardstick; 1-1.5" wide elastic, at least long enough to go around your waist; scissors; an iron and ironing board; and a sewing machine (or a hand-sewing needle and an enormous amount of patience).
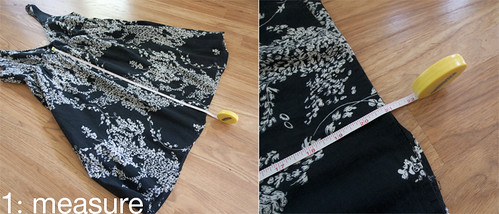
skirtTutorial_step01

Step 1: Measure another skirt whose length you like to determine how long you want your new finished skirt to be. I decided I wanted my skirt to be 18.5" from the top of the waistband to the hem. Now measure from the bottom of the dress hem to the existing waistband - you'll need it be at least the desired length of your skirt plus the width of your elastic plus another half inch or so. In my case, I needed 18.5" skirt length + 1" elastic + .75", or 20.25", and my dress was 21" from hem to waistband - perfect!
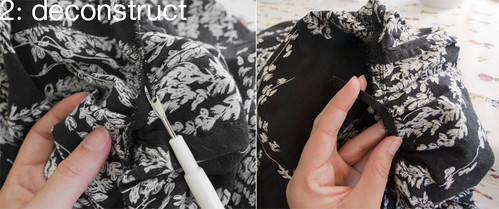
skirtTutorial_step02

Step 2: Separate the top half of the dress from the bottom/skirt half. If after measuring, you found that the skirt of your existing dress is a great deal longer than what you need, you can just carefully snip along the underside of the existing waistband with scissors to separate the two halves; if, like me, you find that the current length is pretty close to what you'll need for your skirt, pick out the stitches along the existing waistband with your seam ripper. You just want to remove any existing elastic and separate the 'skirt' half from the top half of the dress - be sure not to rip open the side seams, or you'll just need to re-sew them. If your dress doesn't have a waistband per se, you'll need to mark a place to cut it in half with scissors; measure up from the hem and mark your desired length from Step 1 (plus maybe an inch or so, just in case) with pins or chalk, then carefully snip off the top half. Err on the safe side - you can always trim off any extra fabric later, but it's much harder to put back what you've already cut off.
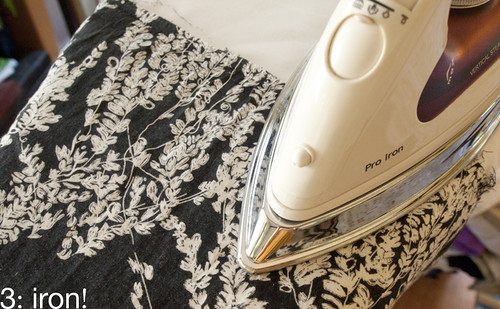
skirtTutorial_step03

Step 3: Once you've separated the two halves of your dress, slip your 'skirt' half onto your ironing board, wrong-side out, and iron it all the way around to get out any wrinkles or gathers from the old waistband. Leave it on the board for the next few steps.
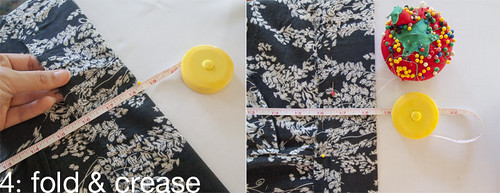
skirtTutorial_step04

Step 4: Now you're going to fold over the top, unfinished edge of your skirt to make your new waistband. Measure straight up from the existing hem and fold over the top edge until you meet your desired length (in my case, 18.5"). Work your way all the way around the top edge, re-checking your measurement every 1.5" or so, and pinning as you go, until the top edge is folded and pinned all the way around at your desired length. Go over the folded edge with your iron (watching out for pins and moving them as needed) to make a nice, firm crease all the way around. We'll call this 'Crease A.'
skirtTutorial_step05

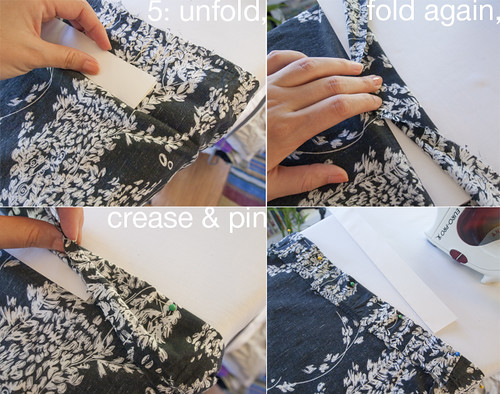
Step 5*: Cut a strip of paper or cardstock the width of your elastic plus 1/4" - in my case, I cut a folded sheet of heavy paper to make a strip 1.25" wide. Unpin the folded edge of your skirt, and gently unfold Crease A. Place your paper strip just above the crease line, between the crease and the rough, unfinished edge at the top. Holding your paper guide so that the lower edge is right at Crease A, fold the top edge of the fabric over the guide, so that you create a new fold line ('Crease B') 1.25" above Crease A. Carefully iron the new fold (do your best not to iron over the original crease line, you'll need it again), then remove the paper guide and pin the folded edge. Working your way around the entire circumference of the skirt, repeat this step every few inches, until you have a new pinned crease all the way around.

skirtTutorial_step06

Step 6: Once you've got your second crease ironed in, you can trim off any excess fabric at the top edge. Snip off the rough edge all the way around, about 3/8" - 1/2" from Crease B. Unpin all the way around, and fold the fabric back over at Crease B, then Crease A, and repin it all the way around. You should now have two nice folded edges showing, with the cut edge of the fabric hidden inside. This will become the casing for your new elastic waistband.
skirtTutorial_step07

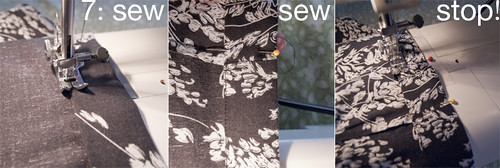
Step 7: Now you're going to carefully sew along the edge of Crease B, about 1/8" or less inside the fold. Mark your starting point with a prominent pin and add another pin 2" above the first to mark your stopping point. Sew almost all the way around, stopping at your second pin to leave a 2" gap. Pull your threads through to the 'wrong side' of the skirt fabric and tie off your thread at the beginning and end of your seam. You now have a casing for your elastic running all the way around the top of your skirt.
skirtTutorial_step08

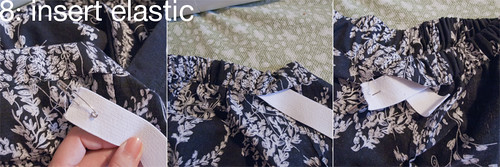
Step 8: Measure your natural waist comfortably with your measuring tape. Without stretching it, cut your elastic to the same measurement - when you sew the two ends together later, you'll get a little stretch, which will help keep the skirt in place while wearing. Put a safety pin through one end of the elastic to help thread it through your waistband. Insert that end into your 2" opening, and start working it through the casing, being careful not to twist the elastic inside the casing. Allow the fabric to bunch up as you go, taking care not to pull in the tail end of the elastic, and eventually you should have both ends of the elastic sticking out of your opening.
skirtTutorial_step09

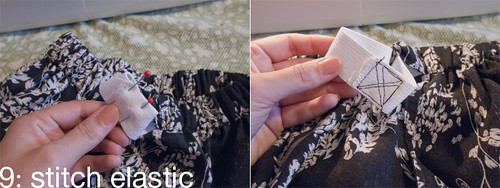
Step 9: Double check that your elastic is smooth and not twisted all the way around your waistband, then overlap the two ends and pin them together. Carefully stitch over the overlapped section a few times to make sure your stitches won't come out when stretched (my machine was skipping stitches like none other, so my elastic looks pretty sloppy here - fortunately none of that will show in the finished product!).
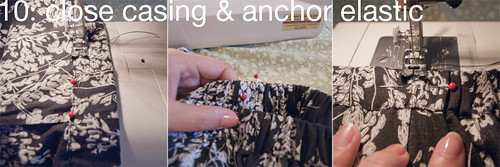
skirtTutorial_step10

Step 10: Release the stitched-together section of elastic and give the whole waistband a little stretch - this should pull the ends in through the opening in the casing and smooth everything out a bit. Pin the 2" section you left open, and sew it closed exactly as you did the rest of the casing. Optional: I also like to add a little stitching at the two side seams to ensure the elastic doesn't twist inside the waistband with wearing/washing. Work the fabric of the waistband around until the side seams of the skirt are equidistant (i.e. when you press the skirt down flat on a table, unstretched, the side seams should align with the outside folded edges of the unstretched elastic), then pin right through the elastic at the side seams. At both sides, sew a short seam on top of the existing side seams, right across the elastic, and tie off the ends on the inside of the skirt.
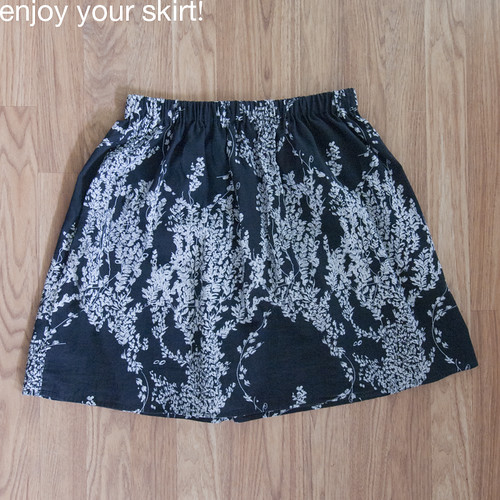
skirtTutorial_step11

Enjoy your new skirt! You can see how I wore mine here. If you have any questions, let me know in the comments and I'll do my best to help - this is my first attempt at writing a sewing tutorial, and I am sure there are lots of ways I could make things clearer. And if any of you try this tutorial out, please feel free to email me - I'd love to share your handiwork here next week!

*This step is probably needlessly complicated, but I really hate measuring and came up with the paper guide system as a way to avoid doing it a second time. If this seems overly complicated to you, you can always skip it by opening up your first crease and essentially repeating the previous step, just adding the width of your elastic plus 1/4" to your measurement from Step 4 to create a new 'Crease B.' Be careful not to iron out the crease from Step 4 as you go, you'll need it again.

August 16, 2011

transitions

2011_0813_blog01-web
2011_0813_blog04
2011_0813_blog05-web
2011_0813_blog06
2011_0813_blog07
Haha, is it really necessary to include a photo of these flats in every post? Apparently it is.
2011_0813_blog02-web
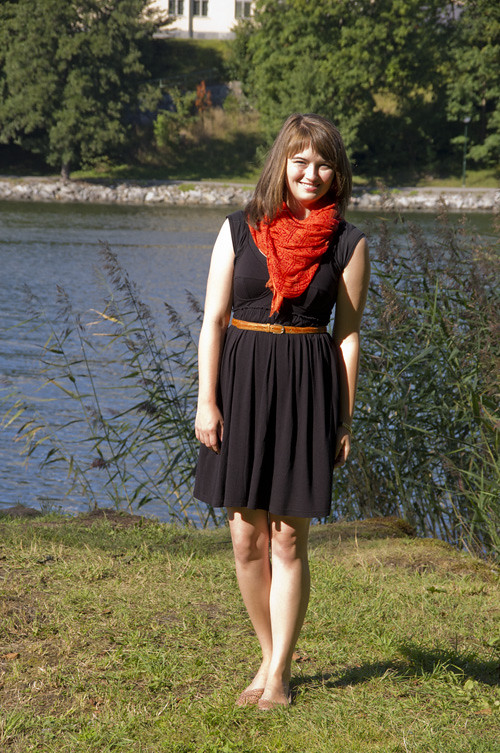
scarf - import shop, Copenhagen / scoop-neck tee - UO / dress - UO / belt - vintage, thrifted  / watch - Arkanoplatz flea market, Berlin / woven flats - UO

Well, today was our last full day in Sweden. Tonight we pack up, and tomorrow we make our piecemeal journey back across the Atlantic and back to the 'real world.' These next few weeks (and months) will hold some major transitions for me - a new city, a new job (hopefully), and a new (and sure to feel strange!) more stable lifestyle - as well as for this blog. I am excited to start transitioning my wardrobe not only for a new season (and who isn't? Boots and scarves are the greatest!), but to accommodate these new big changes in my life. I'm looking forward to taking many of my favorite casual pieces and reinterpreting them in more work-appropriate looks - fortunately for me, most architecture offices have a pretty loose dress code. I also have at least another month of living out of my suitcase ahead of me, so I suppose in some way that will ease my transition back into regular life.

I'll be spending tomorrow doing my best to stay entertained during multiple flights (we're flying a super-cheap airline, so the odds of even having bad movies available to stave off boredom are low), but I'll be back with photos from our last few days of traveling on Thursday. It's hard to believe our seemingly-endless trip is really coming to an end! *sniff*

August 11, 2011

maritime

2011_0811_blog01-web
2011_0811_blog03
2011_0811_blog05
2011_0811_blog07-web
2011_0811_blog04-web
2011_0811_blog06
2011_0811_blog02-web
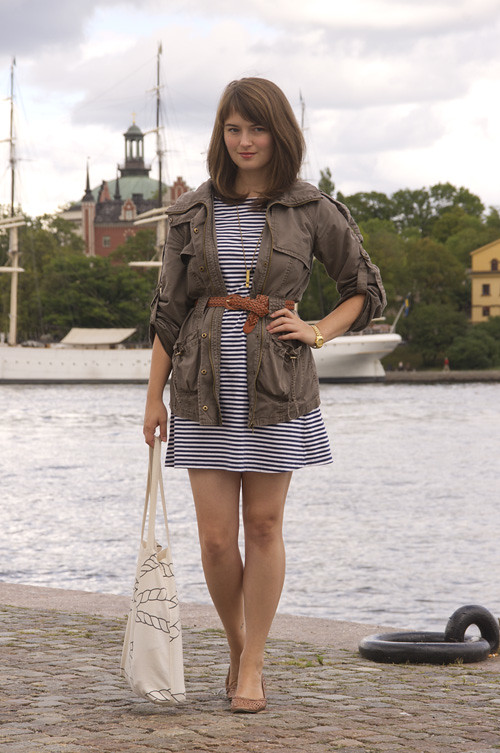
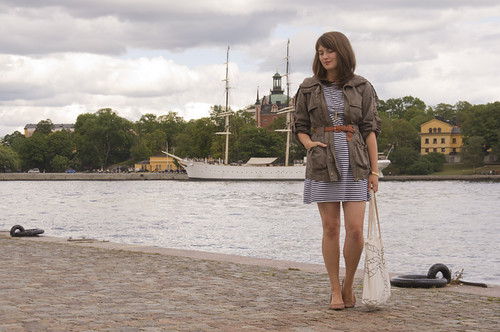
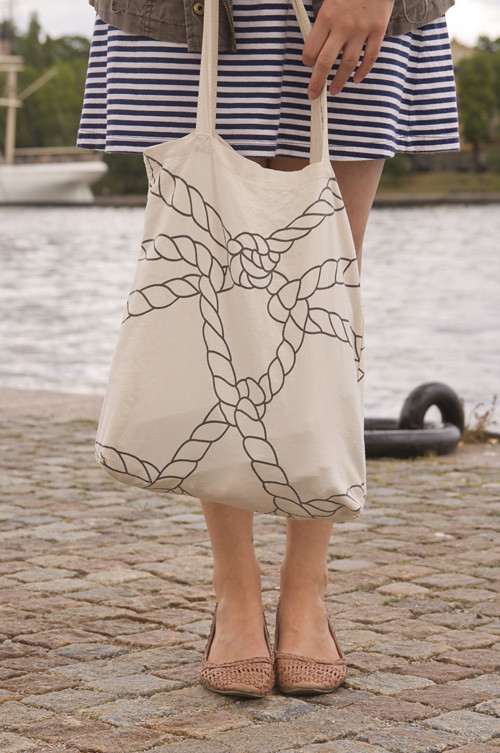
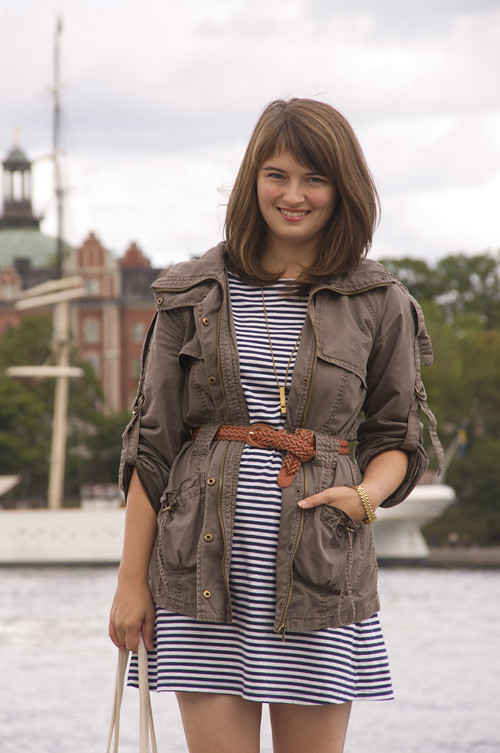
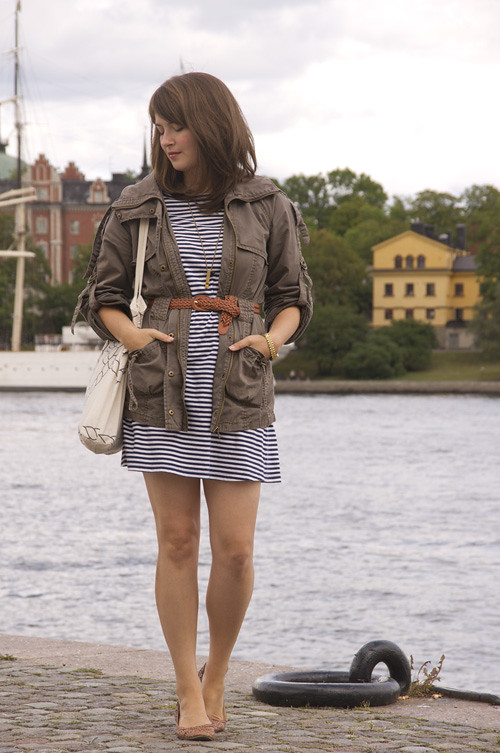
brass whistle necklace - vintage via etsy / jacket - Forever 21 / striped dress - Old Navy / braided belt - vintage, thrifted / watch - Arkanoplatz flea market, Berlin / tote - Forever 21  / woven flats - UO

Woah, who is that? I've gotten so accustomed to wearing my hair up every day that I now think I look like a completely different person with it down! However, since I'm planning to get it cut soon (yes, still a lot of planning, not a lot of doing) I am trying to get used to wearing it loose a bit more. I'm still pretty self-conscious letting it just 'do it's thing' uncontrolled ('what is it doing? does it look weird? what's going on up there?'), but I did manage to make it the whole day without breaking out the emergency hair elastic I kept in my pocket.

This was one of my favorite go-to outfits during my last year of grad school, particularly through fall and winter with tights and boots, and this summer version worked well for our first day exploring our new (and last!) temporary home - Stockholm! Our new apartment is right on the water (an accomplishment not at all cheapened by the fact that everyone's home here is right on the water), so I couldn't help but pay tribute to our surroundings with a very nautically-inspired outfit. We packed up my tote bag with lots of snacks (granola bars, apples, Coke Light & kettle chips - we're at least half-healthy!) and walked all the way from our place on Nacka through Södermalm and all over Gamla Stan and Riddarholmen... and all the way back! At this point I think my right foot is about ready to quit my leg entirely - hopefully I can find a local craftsman to carve me a replacement.